Crochet Sidekick Poncho
- Errin Picard
- Jan 5, 2020
- 3 min read
This poncho came out just as I envisioned, simple yet chic!! Best part, it only took me a couple of days to complete. I wanted some texture in this design so the lemon peel stitch was the way to go. This stitch consists of a single crochet followed by a double crochet. Super easy and whipped up quickly.
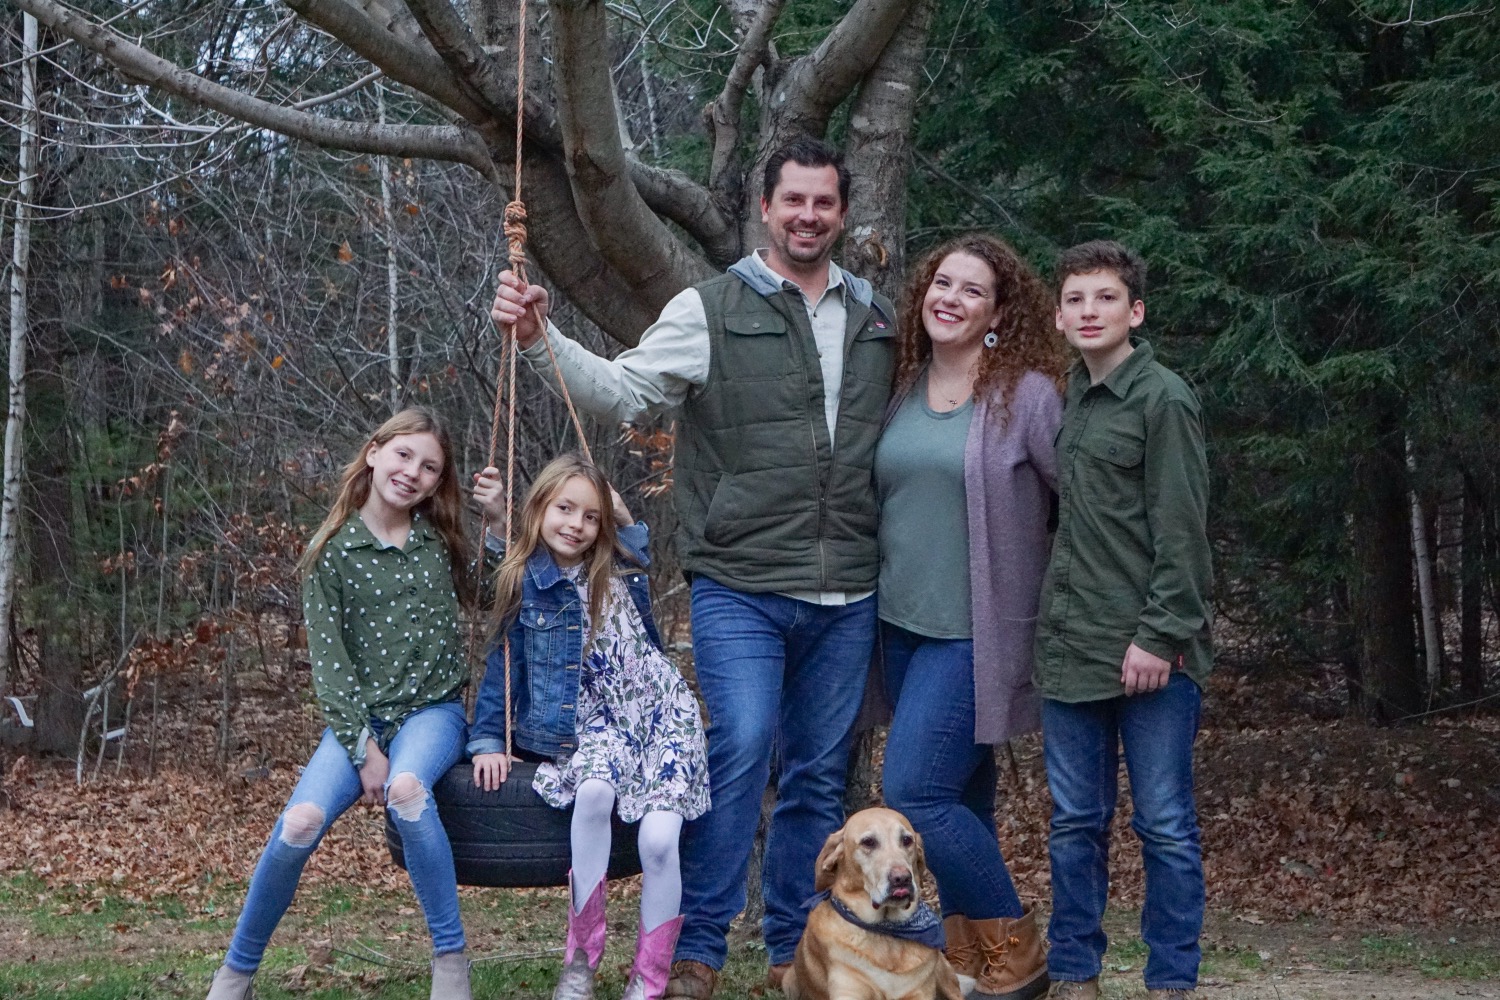
Kendall could not wait to wear her Sidekick Poncho to school the day after I finished. Of coarse, before she got on the bus I had to capture a few photos.
Here is the free pattern, I hope you enjoy!

Width 19"
Length 20.5”
Materials
H size crochet hook
Tapestry needle
3 skeins of medium weight yarn (I used Impeccable Loops & Threads) purchased at Michael’s Craft store.
6 wooden buttons
Abbreviations
Chain: Ch
Single Crochet: SC
Double Crochet: DC
Front Post Double Crochet: FPDC
Back Post Double Crochet: BPDC
Slip Stitch: sl st
Stitch: st
Crab Stitch: CS reverse single crochet

Front and Back
(Make 2 pieces)
Ch 60
Row 1: SC in 2nd Ch from hook, DC in next st, *SC, DC, SC* repeat across. You will end in a SC, Ch 1, Turn (59 sts)
Row 2: *SC, DC, SC* repeat across ending in a SC, Ch 1, Turn (59 sts)
Row 3-End: Repeat row 2 until your pieces reach the desired length (I crocheted to 18”) tie off.
Note: This pattern is very easy to adjust width and length. If you want to make wider increase amount of chains, just be sure to Ch an even amount of chains. For length just keep crocheting Row 2 until desired length.
Sewing the 2 pieces together to form the neck
Place the 2 pieces one on top of the other. Make sure both (the chained sides) are lined up, and both (the sides you ended at) are lined up. The chained sides will be at the bottom of the poncho, and the sides you tied off will be at the top (where you will sew the pieces together to form the neck.) To sew the 2 pieces together start on the outside and sew inwards 15 stitches tie off and weave in ends (do this on both the right and left side.) You will have 58 stitches in the middle of the poncho that are not sewn together, this leaves an opening to form the neck.

Neck
Note: Start the round 16 sts from the right sewn side this will determine the backside of your piece. The round start should be directly in the middle of the backside of poncho.
Round 1: SC around, join, Ch 2 (58 sts)
Round 2: FPDC, BPDC, continue around, join, Ch 2 (58 sts)
Round 3-round prior to End round: Repeat round 2 to desired neck length, I repeated round 2, 2 more times.
End Round: CS around, join, tie off, weave in ends.
Edging on the right and left side of Poncho. (Do not SC all the way around the piece, just the sides.)
SC for 5 rows on each side of the poncho. For the 1st row you will have to evenly space out the SCs, depending on the length of your poncho the amount of SCs will vary. Tie off weave in ends.
Edging for front and back bottom pieces
Row 1: SC across bottom, Ch 2, turn (69 Sts)
Row 2: FPDC, BPDC repeat across, Ch 2, turn (69 Sts)
Row 3: BPDC, FPDC, repeat across, tie off weave in ends.

To finish off the piece you can sew up each side and tack on your buttons. First you will need to turn your poncho inside out. To sew up each side I used clover stitch markers to tack the front and back evenly together. See picture. I placed a stitch marker on first SC on each side right above the bottom edging. Then I counted up 10 spaces and placed another marker. Placed another marker 10 more stitches up, then 6 more stitches up. I sewed from stitch maker 2 to stitch marker 4 using the mattress stitch. Finish off and weave in ends.


Probably just make it shorter and keep the shoulder width. This g-daughter will be 3 when she gets it.
Hi there! I want to make this lovely pattern but it doesn’t say anywhere that I see, what size it is. Can you give that? And what way can I make it smaller?